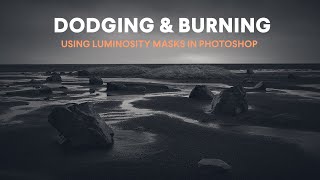
Lumenzia Tutorial: 2 Quick Ways To Dodge And Burn Photoshop Images
Вставка
- Опубліковано 8 вер 2024
- This Lumenzia tutorial will teach you two quick ways to dodge and burn in Photoshop using luminosity masks. **Grab our Lumenzia Keyboard Shortcuts list here: schubertphotog...
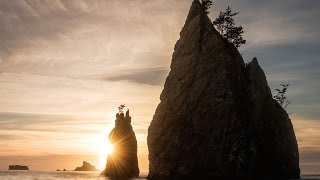
In this Lumenzia quick start video, I walk through two ways of dodging and burning in Lumenzia v8 using a photo of an open field with trees and mountains in the background in Colorado.
The best way I’ve found to dodge and burn Photoshop CC images is using a dodge and burn tool called Lumenzia. Creator Greg Benz has made this fantastic tool to assist photographers in creating quick and easy luminosity masks which act like a stencil when you’re dodging and burning photos in Photoshop. You can download it here: gregbenzphotog...
Remember, dodging is when you lighten select areas of your image, whereas burning, just like burning a piece of wood, makes those areas darker.
The first method is by creating a luminosity mask using a Lights 1 selection from the Lumenzia panel. This gives us a good starting point to use as a stencil, which will help us stay within the highlights we want to target when we use our Photoshop paintbrush. But before we start painting, we use the Global Levels adjustment that’s built into the Lumenzia grouped layer that’s created for us to fine tune our luminosity mask. I just drag the the Blacks slider a little to the right to hone in on the selection I want.
Now we’re ready to paint on our image. We simply adjust our brush size and keep a middle-of-the-road opacity. Then take a color sample from one of the areas we want to dodge. In the Photoshop Color Picker, we adjust our paint color to be brighter and more saturated than our sample color. And then we begin painting on those areas of our image we want to accentuate. It’s as easy as that!
For the second method, we use the Narrow Zone Picker to sample the lighter leaves of the tree. We then refine this selection in the Global Levels and begin painting with our Photoshop paintbrush at a medium opacity. The effect is much more dramatic, so we use the opacity slider to reduce the dodging effect to our liking. That’s it!
------FOLLOW SCHUBERT PHOTOGRAPHY HERE------
www.schubertph...
/ jimschubertphotography
/ schubertjim
/ schubertjim
-----GET YOUR FREE LANDSCAPE PHOTOGRAPHER BUYER'S GUIDE------
Download the FREE buyer's guide you need to make smart landscape photography gear decisions here: bit.ly/Landscap...
-----CAMERAS & GEAR USED TO SHOOT THIS VIDEO------
UA-cam Home Studio Setup:
kit.co/jimschu...
------DISCLAIMER------
This video and description contains affiliate links, which means that if you click on one of the product links, I’ll receive a small commission. This helps support the channel and allows me to continue to make videos like this. Thank you for the support!


Thank you.
Another very informative tutorial, thoroughly enjoyed it.
Thanks, Gary! Glad you found it helpful.
Be great if you start at very beginning before you add any layers.
And thanks for tutorials!