How to Easily Remove Color Casts | In Photoshop with Adjustment Layers

Вставка
- Опубліковано 12 вер 2024
- In this tutorial, you will learn How to Easily Remove Color Casts in Photoshop.
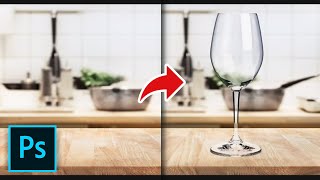
Sometimes when you take a photo, you’ll notice that there’s an unnatural overall color to the photo. This can look good in some cases, but with photos of food for example, it can look rather off-putting.
Here’s how to fix it.
In Layers panel, click Add Adjustment Layers and choose Levels. In the levels adjustment panel click the middle eye dropper icon and click on a part of your image that you believe should be neutral grey. This neutralizes color on which you click and shifts everything else around that neutralized color. You may need to experiment what part of the image you choose as neutral grey. Try experimenting it to get the result you are most happy with.
If you don’t have anything that needs to be grey in the photo, try clicking on something that needs to be black or white.
You can also change the opacity of the adjustment layer, to further tailor the amount of the effect.
While there are more complex ways to do this, this is one of the most straightforward and time efficient ways to fix your color cast!
❓💬 What other photoshop tutorials would you like to see on our channel? Please let us know in the comments.
#HowTech #Photoshop
--------------------------------------------------------------------------------------------------------------
✅ All our announcements are available here t.me/howtechtv
✅ Commercial questions info@howtech.tv
✅ Facebook / howtechtv
✅ Instagram / howtechprojects
✅ Twitter / howtechprojects


How to make a professional poster in 30 minutes.